Now that the bodice and the skirt are completed we need to add the lacing holes. The bodice will be laced on the side using a spiral lacing pattern. I have found that this type of lacing holds more firmly than an “X” pattern lacing, especially for someone more endowed like I am.
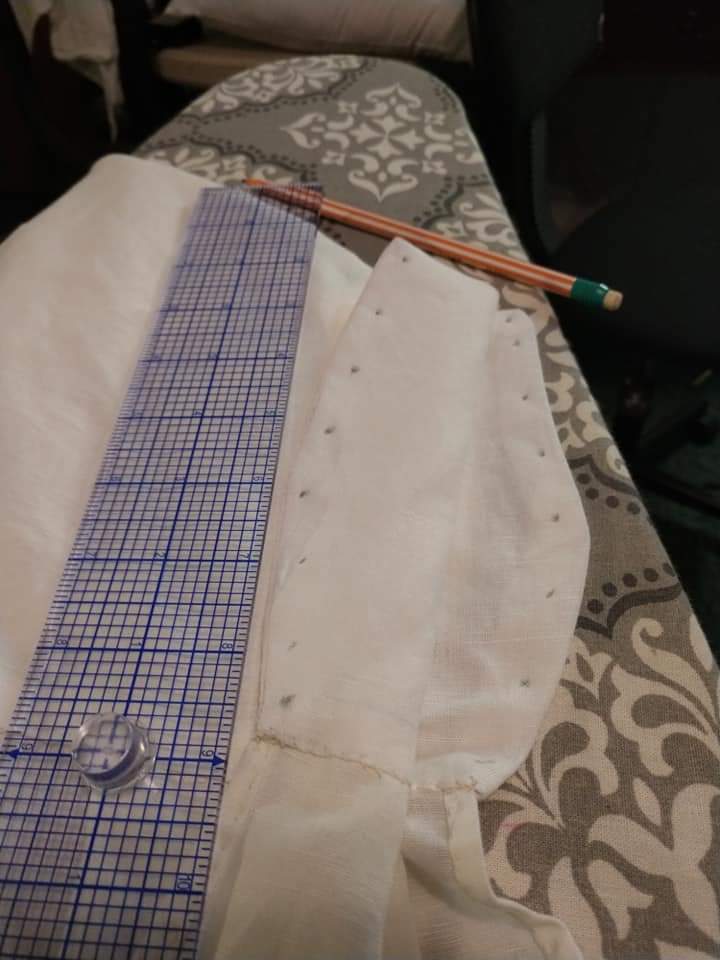
The first step is to lay out the lacing holes. Using a spiral lacing pattern will dictate how I lay the holes out on the fabric. You will notice that the holes on the upper fabric are spaced one inch apart from top until close to bottom (I didn’t have quite an inch left for the final hole). On the bottom fabric the second hole is marked half an inch from the first hole. This allows the holes on both sides to be staggered from front to back. It also allows for the front and back of the bodice to line up correctly once they are laced up.

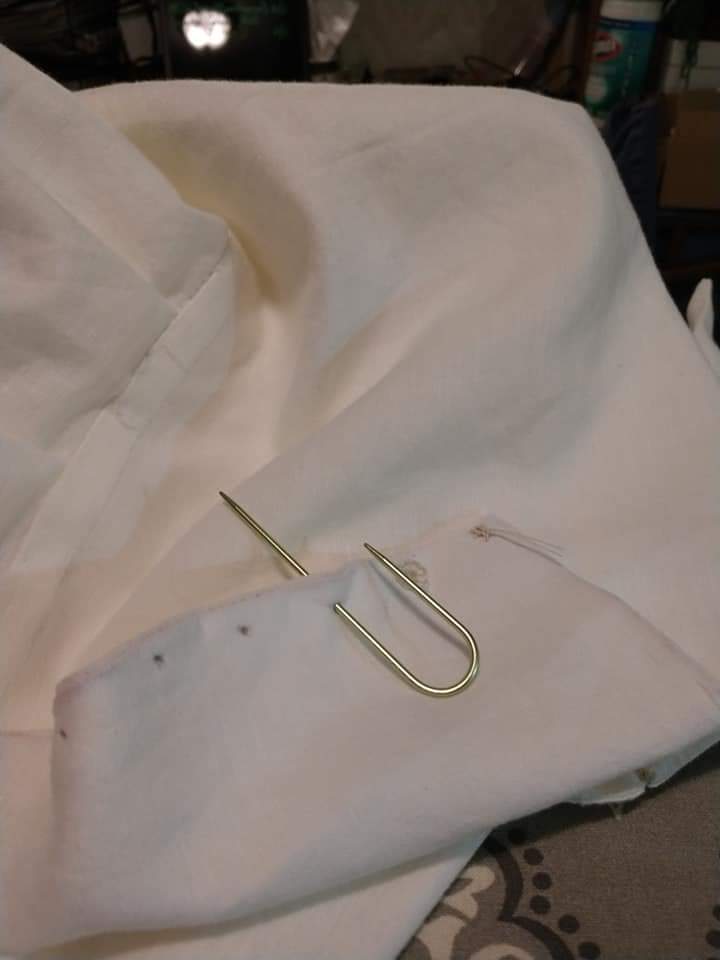
Step the next: Making the holes. Since I am hand binding the lacing holes I will not punch holes in the fabric like I would if I were using metal eyelets. Punching the holes in the fabric will cut the threads and you run the risk of losing your eyelets as they eventually pull out. Instead I will use an awl to create holes by moving the threads of the fabric “out of the way”. (I couldn’t find my awl so I used three sizes of knitting needles to create the same effect.) To use the awl you will place the tip of the awl at the location marked and press the tip through the fabric. The idea is not to break any threads but to move them aside. As you push the awl further into the fabric to enlarge the hole it displaces the threads creating your opening. If you are interested in a sewing awl Amazon has the one I normally use.

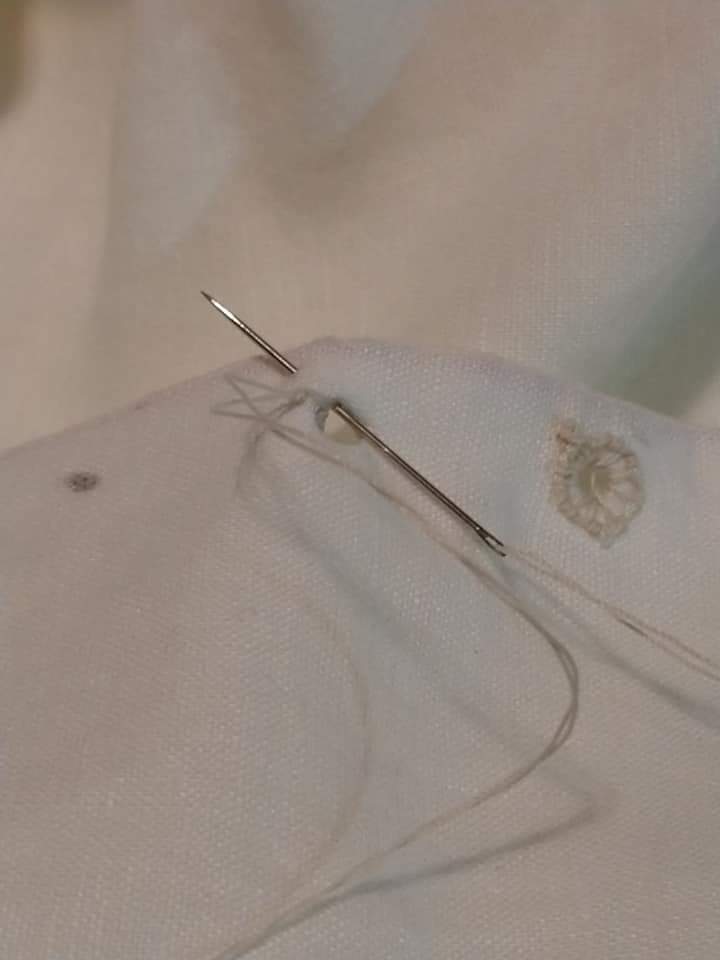
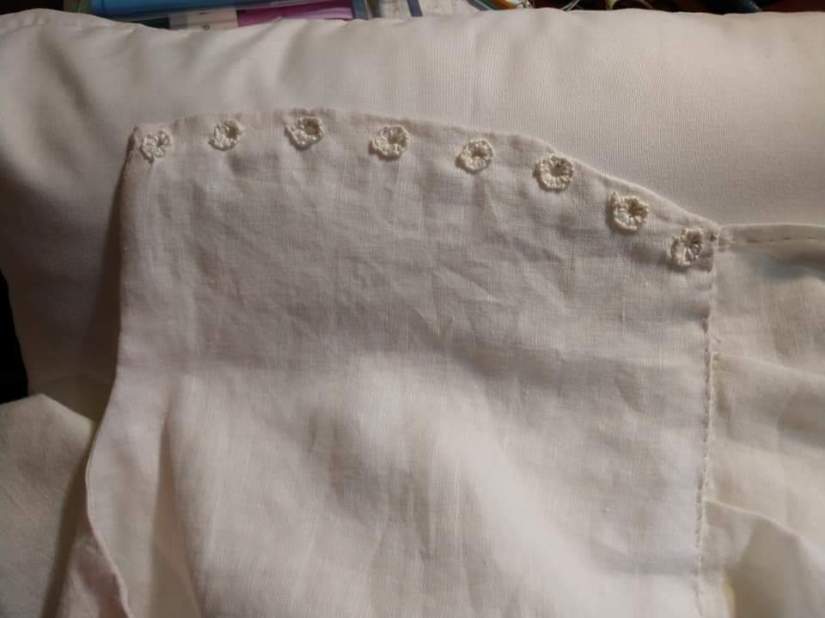
As I create the holes I go ahead and make the buttonhole stitching around each in turn. I insert the needle between the layers of fabric and bring it back out on the outside of the inner lining fabric. Then the needle is inserted through the lacing hole to the outside of the bodice. Approximately 1/8 of an inch (or a bit more because I usually eyeball this) from the edge of the hole I push the needle up through the fabric back to the lining side. I make sure the needle is next to the end of the thread coming out of the original anchor point. Taking the thread I then wrap it around the needle twice where it is coming out of the fabric. While holding the thread close to the fabric at the base of the needle I pull the needle through. I snug this up together. The double wrap around the needle holds everything in place so that you can proceed with the next stitch. Continue around the hole in this manner until it is completely surrounded by stitches. Once completed tie off the thread and continue on to the next hole.

Now that all of the holes are bound we are ready for the final step in this project. Well, at the least the one before the final “try it on and walk around in the house in our underwear” stage. I will be attempting to fingerloop braid the lacing cords for the bodice. Join me in the next post for this undertaking.
