The first step in making any garment is to decide what you are making. I wanted to start making the innermost garment layer so I am making a sleeveless shift. It consists of a fitted (self-supporting) bodice which ends just under the bust with a pleated skirt that reaches just below the knees.
Next, taking measurements. I got assistance from a co-worker during a break one day. She thinks it’s funny when I start on such projects.
Measurements for my shift consist of underbust, bust, shoulder to shoulder, shoulder to bust, shoulder to underbust, just above the bust, bust to underbust, etc. It seems I had a ton of measurements to start this project. Maybe too many.
Using these measurements I drew out the pattern of the bodice. It looked too big but that is, I told myself, what a mockup is for. I chose a bright red fabric in my stash that wasn’t being used for anything else and a bright green thread so I could see it to pick it out later. I cut out the mockup, sewed it together, and marked it all up.

I took the mockup apart and readjusted the pattern using the marks that I made on the red fabric.

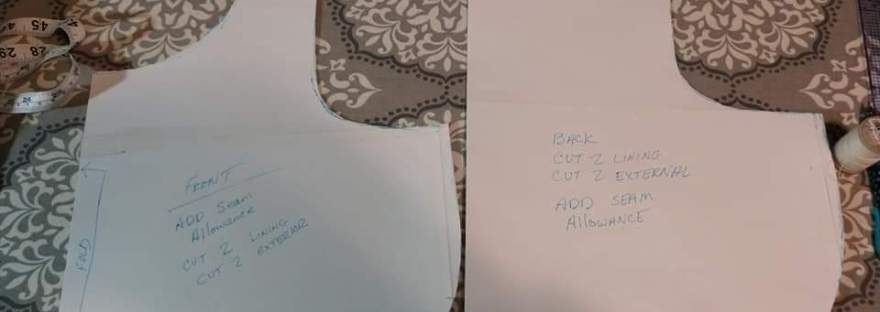
Having made the adjustments I selected my fabric for the actual garment. I used a handkerchief weight linen. I cut out two of each piece on the fold. Having pinned the armsceyes, necline, and side seams I sewed the lining and exterior fabric pieces together for both back and front pieces of the bodice.


Once the back and front pieces of the bodice had been sewn together I pinned the shoulders together at the exterior fabrics (back to back).

These were then sewn together by hand.


The inner lining fabric was then pressed, pinned, and hand sewn with an invisible seam.

The bottom seam was pressed and turned inside the bodice. This was in preparation for adding the skirt to the bodice.


The addition of the skirt comes in the next blog entry.
